In this tutorial, we will be resizing images automatically.
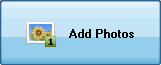
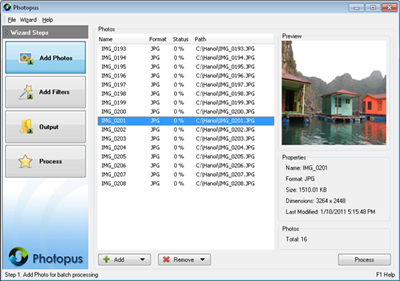
Step 1: Add Photos
a. Click on Add button at the bottom and select Add Photo (s)
b. Select the images that you would like to resize
c. To remove images from the batch processing, select the images and click on Remove button at bottom and select Remove.
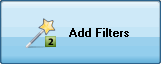
Step 2: Add Filters
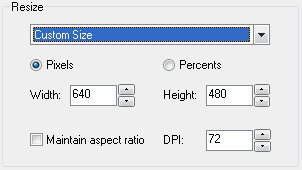
a. By default the output images width and height will be the same as the source image width and height. To specify a custom width x height, select Custom Size under the Resize combo box.
Pixels - Customize the output width and height in pixel values
Percents - Customize the output width and height in percentage values
Width - Output image new width in pixel or percentage
Height - Output image new height in pixel or percentage
Maintain aspect ratio - Checked this option to have the output image maintaining the aspect ratio
DPI - Change the new Dot Per Inch value
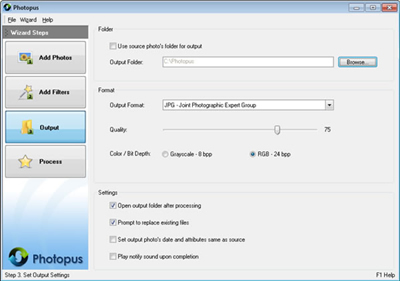
Step 3. Output
a. By default the output images will be saved at C:\Photopus . To change the output location, click on Browse button and select a new location. To use the source photo's path as output, check the Use source photo's folder for output.
b. By default the output image format will be JPEG. To change the output image format, select a new output format from the combo box.
c. You may customized to have the output location folder opened after the processing; Prompt asking for overwriting existing image file; Set the output image meta information same as the source image; Play notify sound upon completion.